Bonus Guide 1
Aircon Installation Checklist & Materials Guide
Kompletong step-by-step checklist at materials list para sa split-type at window-type aircon installation — mula site inspection hanggang customer handover.
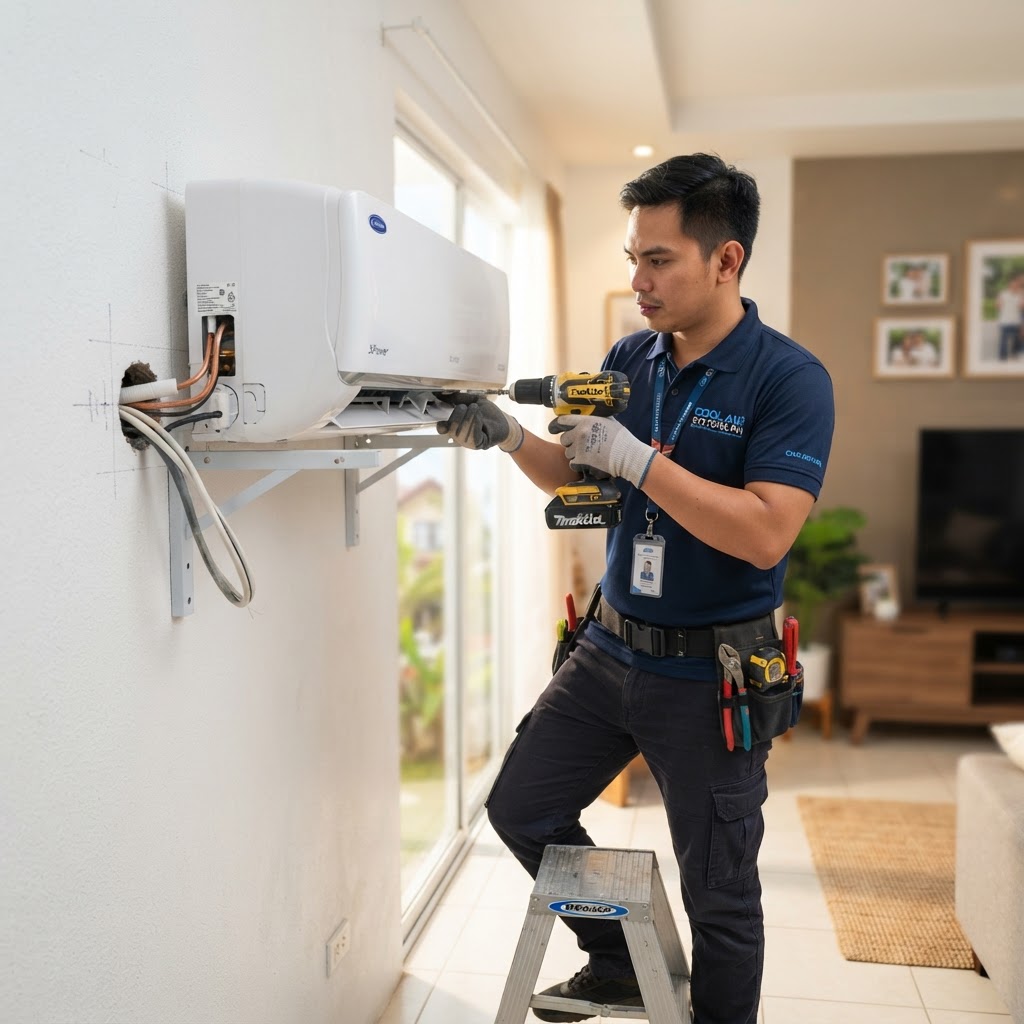
Tamang mounting ng indoor unit sa wall bracket — siguraduhing level at secured bago i-tighten ang lahat ng bolts.
Bago mag-install, gawin muna ang site inspection. Ito ang pinakamahalagang hakbang — nawawala ang karamihan ng problema kapag na-check nang tama bago mag-start.
⚠️ Safety Warning
Ang wall mounting bracket ang nagbubuhat ng buong indoor unit. Kung mahina ang wall, babagsak ang unit.
| Wall Type | Recommendation |
|---|---|
| Concrete / Hollow block (filled) | Safe — gamitin ang anchor bolts na sapat |
| Hollow block (unfilled) | Gamitin ng wall anchors o lagyan ng support board (plywood/plywood) sa likod |
| Wood / Plywood wall | Kailangan ng additional backing o reinforcement |
| Glass / Lightweight partition | Hindi recommended — kailangan ng structural support o ibang wall |
💡 Pro Tip
⚠️ Safety Warning
Ang copper pipe at drain hose ang nag-connect ng indoor at outdoor units. Ang tamang installation dito ang nagpi-prevent ng leaks at poor cooling.
| Item | Check |
|---|---|
| Copper pipe size | Match sa unit specs — usually 1/4" at 3/8" o 1/4" at 1/2" |
| Flare nuts | Tightened sa manufacturer torque spec (huwag over-tighten — maa-crack) |
| Insulation | Kumpleto ang insulation sa suction line — walang exposed copper |
| Drain hose | Downward slope, walang sag/low point na mag-collect ng water |
| Wall sleeve | Wall penetration sealed ng grommet at sealant |
| Pipe run length | Keep short — hanggang unit's max length lang (check manual) |
Pagkatapos ng pipework, kailangan i-vacuum ang system para ma-remove ang air at moisture bago mag-charge ng refrigerant.
Connect vacuum pump
I-connect ang vacuum pump sa service port gamit ang manifold gauge set. I-open ang low-side valve.
Run vacuum for 15–30 min
Depending sa system size. Target: below 500 microns. Huwag i-shortcut — ang moisture ay pumapatay ng compressor.
Leak test
Isara ang valves at i-watch ang gauge for 5–10 min. Kapag hindi nag-move, walang leak. Kapag umakyat, may leak — i-locate gamit ang soap bubble o electronic leak detector.
Open service valves
After successful vacuum at leak test, fully open ang liquid at gas service valves ng outdoor unit.
⚠️ Safety Warning
Para sa beginner, narito ang kumpletong materials na kailangan bago mag-start ng installation job:
| Category | Materials |
|---|---|
| Copper tubing | 1/4" at 3/8" (o 1/2") copper pipe, cut to needed length |
| Insulation | Closed-cell foam insulation (thermal) para sa suction line |
| Drain hose | PVC drain hose, may proper inside diameter para sa unit |
| Electrical wire | THHN wire, correct gauge (2.5mm² / 4mm²) |
| Breaker | Dedicated miniature circuit breaker, sized sa amperage |
| Mounting bracket | Wall bracket set + outdoor unit bracket/stand |
| Bolts & anchors | Expansion anchors, lag bolts, washers |
| PVC casing | PVC pipe cover/casing para maayos ang pipework sa wall |
| Flare nuts | Spare flare nuts (match sa pipe size) |
| Sealant | Waterproof sealant / putty para sa wall penetration |
| Cable ties | Cable ties para sa neat wire routing |
| Electrical tape | Insulation tape para sa wire connections |